<body><script type="text/javascript"> function setAttributeOnload(object, attribute, val) { if(window.addEventListener) { window.addEventListener('load', function(){ object[attribute] = val; }, false); } else { window.attachEvent('onload', function(){ object[attribute] = val; }); } } </script> <div id="navbar-iframe-container"></div> <script type="text/javascript" src="https://apis.google.com/js/platform.js"></script> <script type="text/javascript"> gapi.load("gapi.iframes:gapi.iframes.style.bubble", function() { if (gapi.iframes && gapi.iframes.getContext) { gapi.iframes.getContext().openChild({ url: 'https://www.blogger.com/navbar.g?targetBlogID\x3d9925853\x26blogName\x3d*Never+Ending+Yarn*\x26publishMode\x3dPUBLISH_MODE_BLOGSPOT\x26navbarType\x3dSILVER\x26layoutType\x3dCLASSIC\x26searchRoot\x3dhttps://neverendingyarn.blogspot.com/search\x26blogLocale\x3den_US\x26v\x3d2\x26homepageUrl\x3dhttp://neverendingyarn.blogspot.com/\x26vt\x3d3947792865768987832', where: document.getElementById("navbar-iframe-container"), id: "navbar-iframe" }); } }); </script>

Tuesday, November 03, 2009

Where does the time go??

I believe that I've become one of those bloggers that has really good intentions of posting on a daily basis and having profound thoughts to share with the world. Instead I feel more like a hamster on a wheel running in circles doing the same things day and day. Of course these days there are more things in my life so there is even less time to get them all done. Something always has to slide and figuring out that balance will in all likelihood be a lifelong endeavor. So for now, I blog when I can.

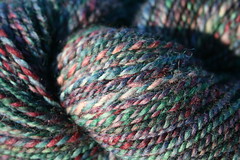
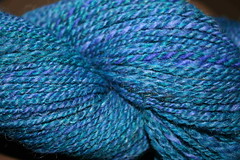
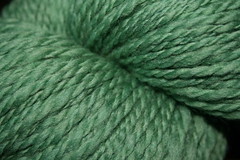
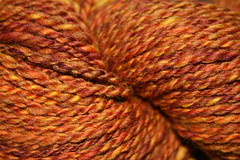
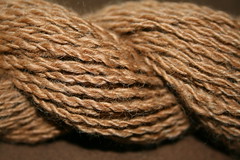
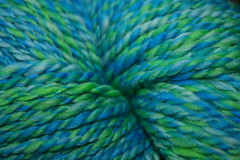
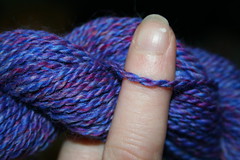
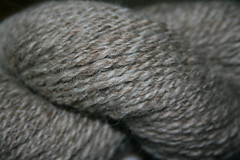
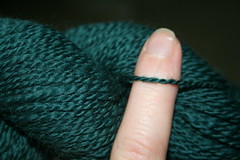
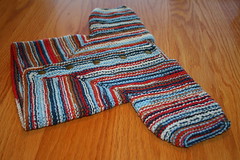
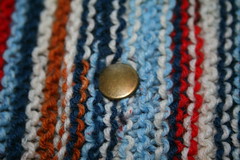
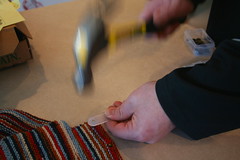
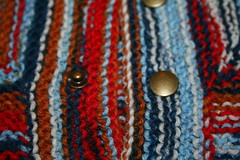
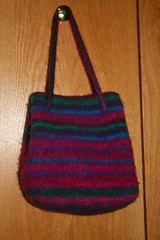
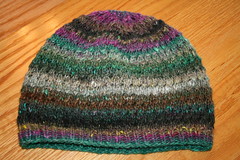
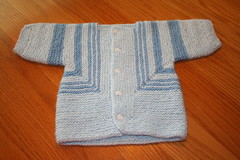
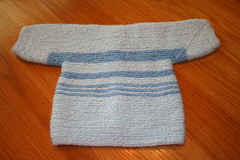
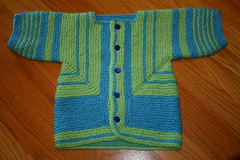
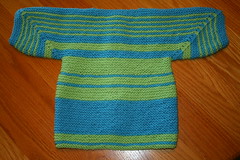
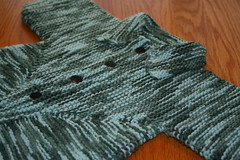
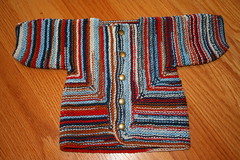
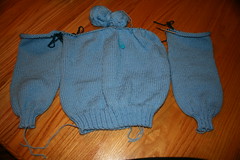
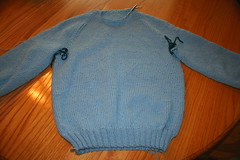
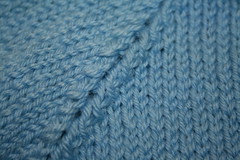
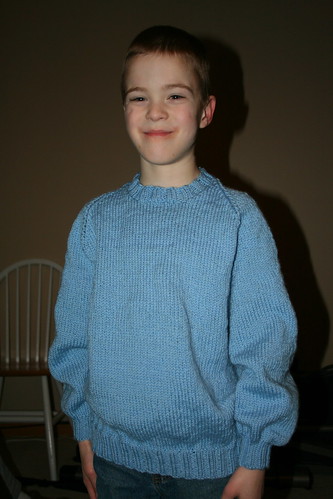
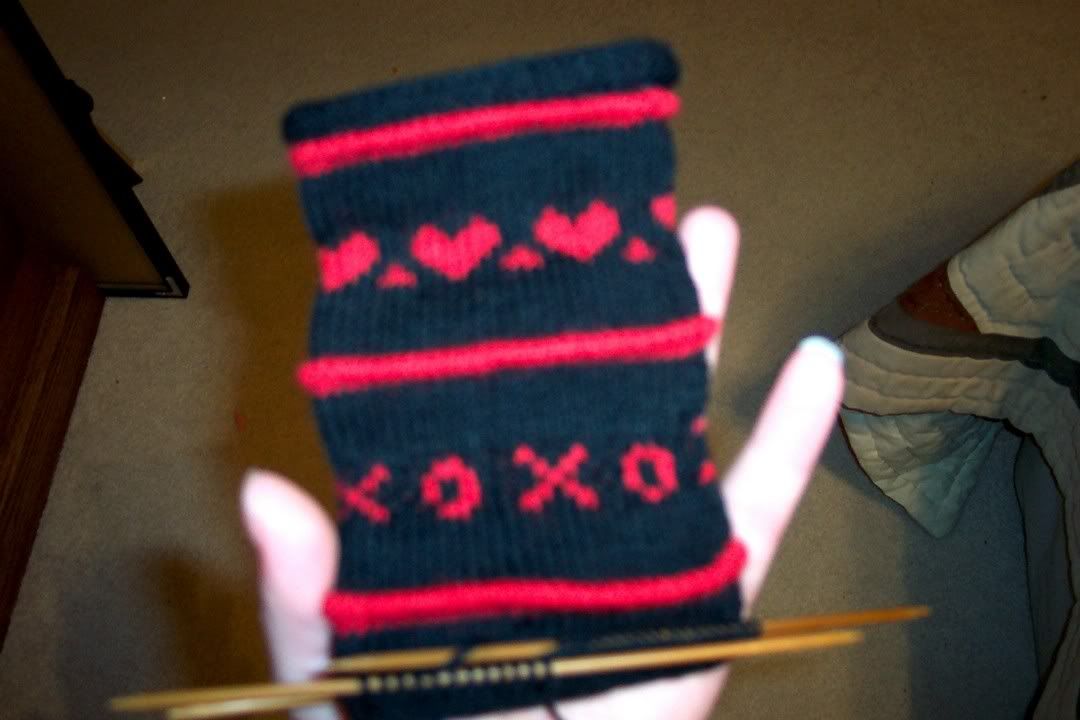
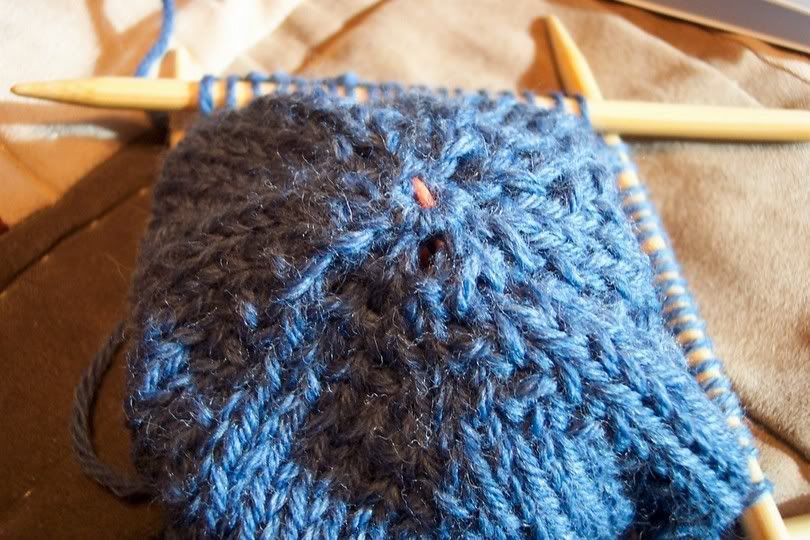
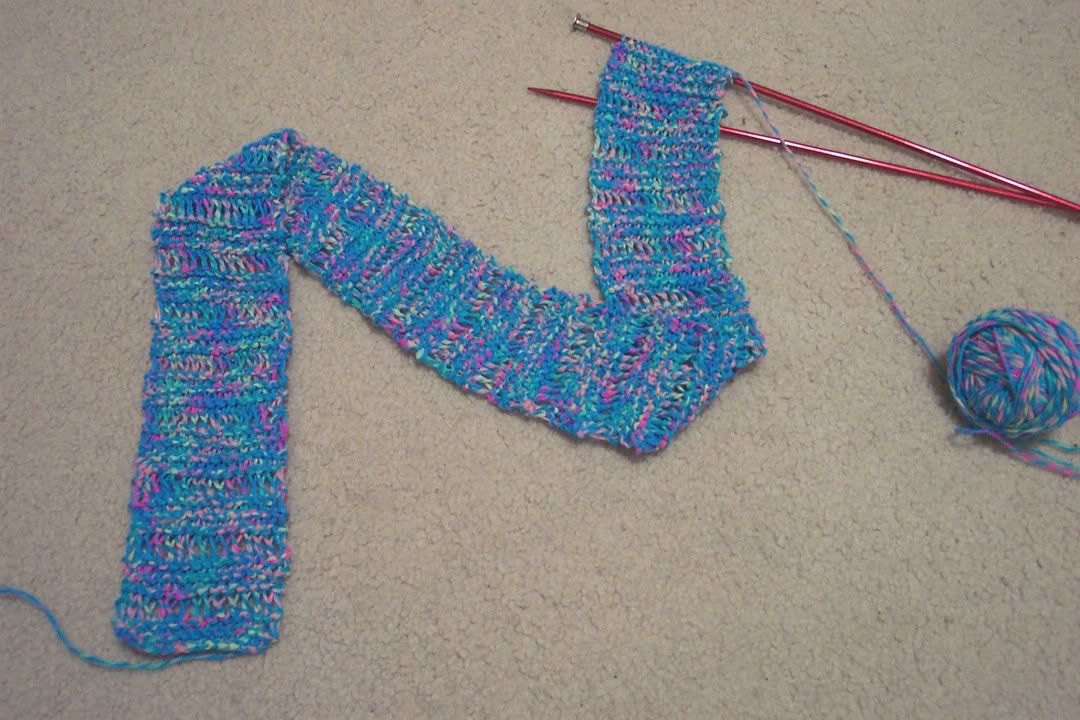
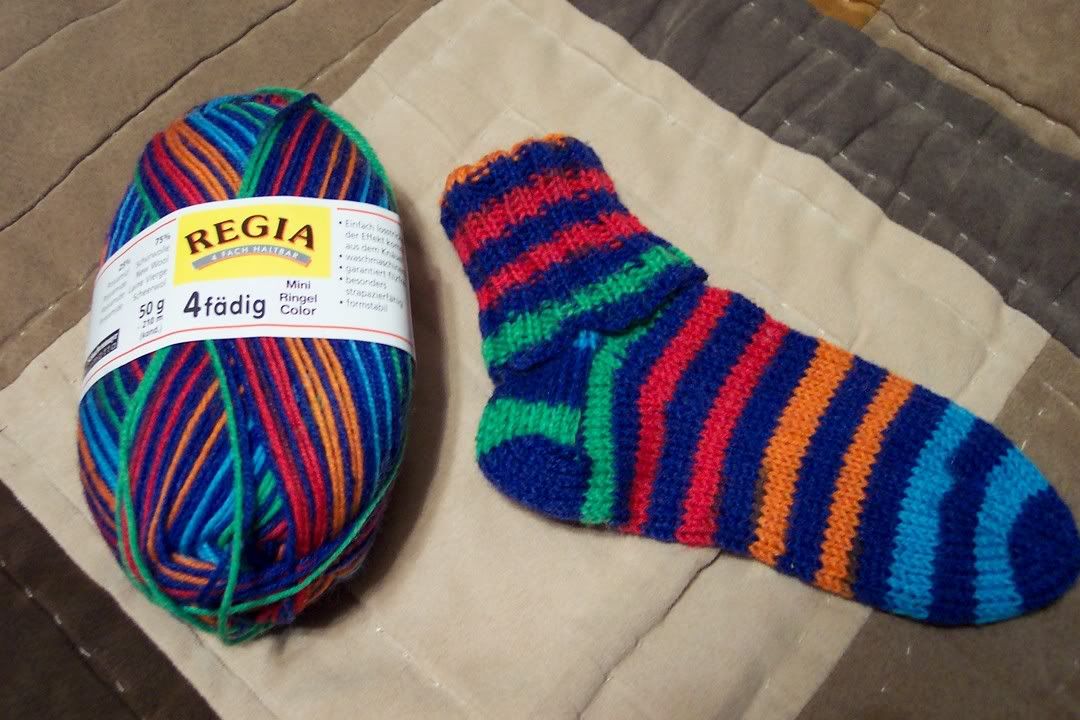
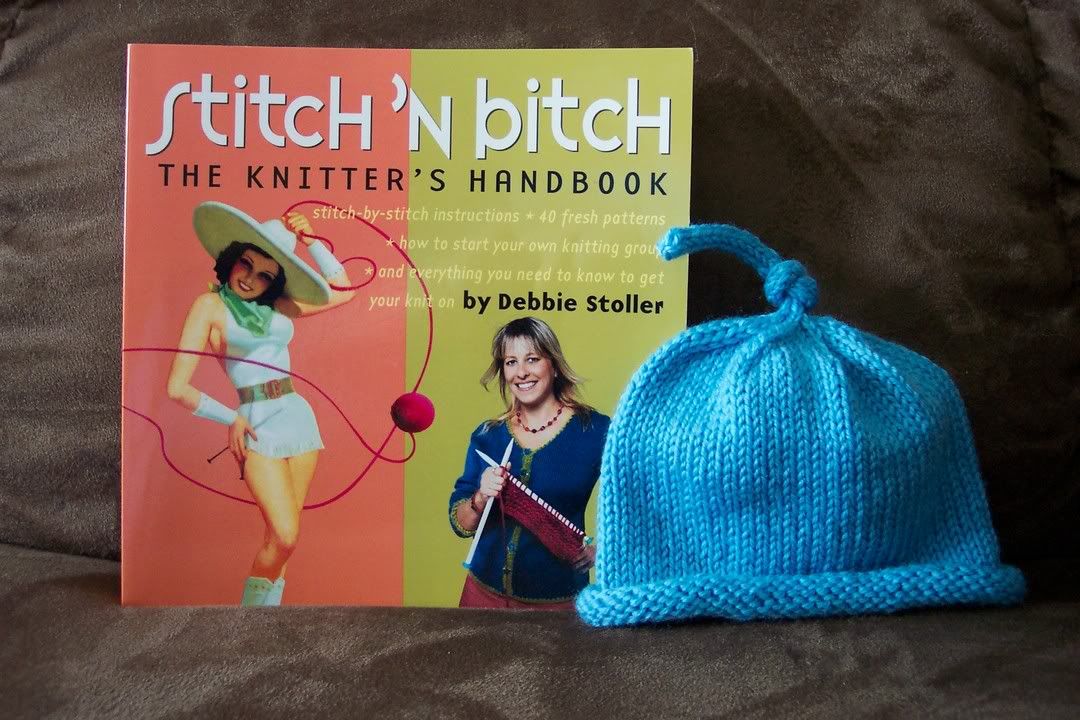
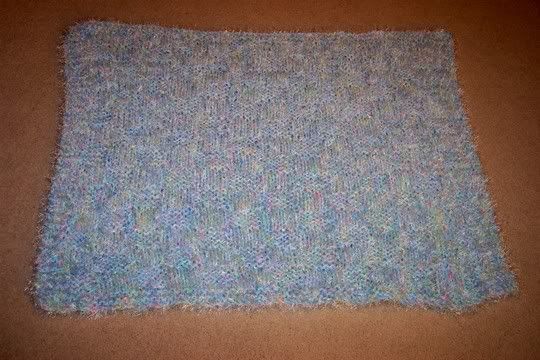
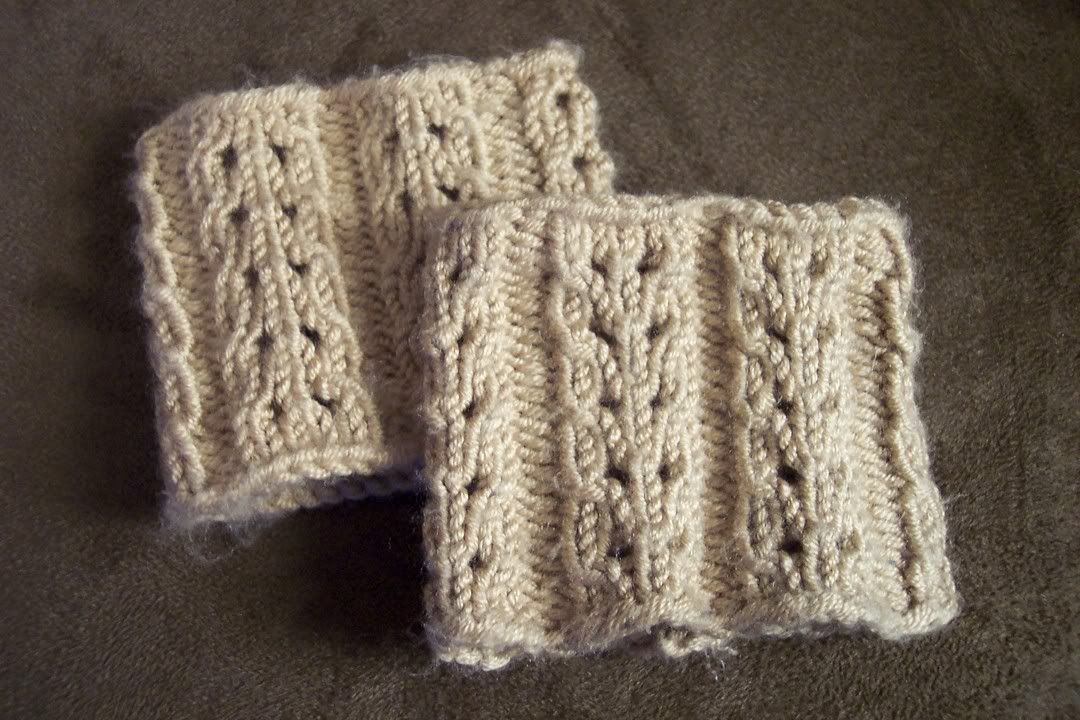
This being a fiber blog I will start there... I am still knitting on occasion and spinning when I can. I have several projects on the needles at this time. Socks, a scarf that makes vertical stripes, a clapotis, a shrug... probably more just can't remember it all. I'm very good at starting new projects but run into trouble with my follow through. I used to always make time for my projects to the exclusion of all else. These days I am more likely to make time for myself, for my health and it's a better life.

I've made some progress in my weight loss as well. I am currently at 71 pounds down. I should say that I was at 71 and then I bought a new scale that weighs me heavier. I feel like I took a 4 pound step backwards but in all actuality I have still lost that 71 pounds. It's funny how a thing like that could have been a huge setback for me before, I would have probably returned the scale but now I'm okay. I'm proud of the progress that I've made and I feel good about the change that it is making in my life and in others. I never set out to be a role model but I keep hearing from people that have started to making changes to their life because of what I am doing. I really believe that if I can do this anyone can. Everything that I am doing is common sense... eat less, move more. No magic pill. I had to put in the work to see the results but it was worth it. For me it was a matter of desire. I finally wanted to change my life. I wanted to change my life so I could actually start living it.

So far my progress...

family photo

my pic

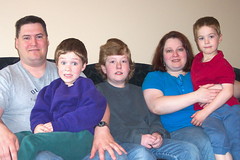
I haven't done a more recent photo in a while, I have lost another 20+ pounds since this was taken. I run into people that don't recognize me and it's a great feeling. Of course I also have people that don't say a word about my weight. Not sure what that is all about. I didn't do this for vanity sake so I'm okay if they don't notice. It's all good.

If you are reading this and you are interested in following my story a little closer or being about to interact with me about my weigh loss, I have a facebook group. It's called "Erica's weight loss journey" and it's open to the public. I feel like it's my duty to share my story with others and to hopefully help someone else be who they want to be. Thanks for your support and for taking the time to read my story. I will attempt (once again) to post more often but we all know how that goes!!

Thursday, July 23, 2009

I'm still alive!!!

It's been almost an entire year since I have updated my blog. Where does the time go? I'm still knitting and spinning but not near as much as I have in the past. I've been working very hard on finding a balance in my life. It took me a long time to realize that my life was very out of balance. My OCD tendencies tend to throw me full throttle into my latest and greatest project without concern for any other area of my life. Finding a better balance has meant pulling back from my creative endeavors and working on myself along with the mundane life tasks that I often ignored.

What does all that mean? It means that I have finally put myself at the top of my list. If you have followed my blog you know that I have never really taken good care of myself. I've tried in the past to lose weight and was successful for a period of time but could never keep a strong enough hold on it. I finally got to the point where I was fed up with myself and I took action.

I began back in February on the 9th. I weighed 252 pounds at that time... I'm only 5'4". First I eliminated all beverages other than water and milk. I started keeping track of all of my calories using a great free app on my iPhone called Lose It! It let me put in my starting weight and my goal weight and how many pounds a week I wanted to lose. It then gave me a daily calorie amount. It also let me enter in my activity and how many calories I burned.

For activity I started by using a workout DVD called Walk Away the Pounds. It's a walking based program that is challenging but not too difficult. I also used a pedometer and tried to add as many steps into my day as I could with 10,000 being my ultimate goal. Little by little I added other activities in like elliptical, tennis, walking outside, dance aerobic videos and more. I can clearly remember the day that I experienced my first endorphin rush from exercise... I was on the elliptical and it was at about 7 minutes. It was an amazing feeling!

My goal is to lose 100 pounds and then reevaluate. I haven't weighed 150 in quite some time so I don't even know what that will look like. In the 22 weeks that I have been working on this I have lost 50 pounds! I've gone from at size 24W to a size 16 and I have found myself feeling stronger and really sticking up for myself. It's been an amazing journey so far and I can't wait to keep moving forward!!

So, obviously today's post isn't really fiber related but it's a story that I wanted to share. I've gotten such great support from all of my friends and family, it's so appreciated. My goal is to post more often and to share this journey with all of you! Thanks for letting me share:-)

Wednesday, August 13, 2008

My ETSY Store is OPEN!

Never Ending Designs is officially open for business!

As previously blogged I have become a fiber spinning fanatic! I'm spinning more than I could possibly knit and decided it was time to share my creativity with the world. I'm also using my store to destash some items that I don't have time to use anymore. I will be adding items on a regular basis... I've got about 20 skeins of yarn already spun and I spin practically on a daily basis.

I've added a mini store to my sidebar here so that you can quickly see what is new. I hope that you will take the time to visit and add me to your favorites so that you can come back often!

Wednesday, July 02, 2008

You spin me right round baby right round!

I have rekindled a love affair with my Ashford Joy spinning wheel. I don't know what made me put it away but now that it's out, it's out forever! I have been super busy and have some beautiful yarn to prove it. I'm going to a knit & spin night at a local restaurant and it's so inspiring to see what everyone else is doing. Here are some photos of my handspun...

This was hand dyed by me (yay!) I seriously love it. I'm calling it "An Affair to Remember" and my DH is jealous! It was purchased at Marr Haven and was a 60ct Champagne colored merino.
my favorite yarn

This is merino and mohair. It was a batt and was a dream to spin. This also came from Marr Haven!
Vivid Dreams Merino and Mohair

This is superwash merino that I got from Jenna. I believe she purchased it from an etsy store. It spun up very well but the ends were cut, like with scissors. Weird.
Dk Celadon SW Merino

More merino that was very spin able. More fiber from Marr Haven.
Sky Blue Merino

Purchased this through Copperpot Woolies. I was envisioning something very different but I think this is good to. I call it "I Miss the 70's."
Hot Rocks

This is a small amount of baby alpaca that I mistakenly spun up in the wrong direction. I did a center pull ball and plied from that. I don't recommend it. I'm not entirely sure where this fiber came from. I ended up with two 8oz packages of it. One white and one this color.
Baby Alpaca

This is also from Copperpot Woolies and I love it.
Beach Glass

This is from Marr Haven. It was merino and silk and absolutely unbelievable to spin.
blue merino and silk 2 ply detail

I've had this for quite some time. It's Blue Faced Leicester and there is just nothing like it. I basically learned to spin with this and I fell in love. I purchased this a couple of years ago at Friends of Wool.
bfl 2 ply

This is also from Marr Haven. It's more merino! Equally loved.
green merino 2 ply detail

This is only a part of what I've done. I will post more pics soon. I plan to dye some more roving and I've bought some Cascade 220 that is white in a worsted weight to do some other experimenting. If you don't spin... you should!

Friday, May 02, 2008

Geo caching

I am not an outdoor type of person. Really it's the heat that I don't care for. I love fall and spring when it's cooler and winter has always been my favorite season. Anyway, last year after purchasing a GPS I ran across this website. I thought it sounded interesting so as a family we gave it a try and we've been going strong ever since.

Basically Geo caching is a high tech treasure hunt. You are given a set of coordinates and then you go out and try to find whatever is hidden. It can be as small as a film canister up to the size of an ammo box. Sometimes it's a Virtual Cache where you simple go to a location and answer some questions or take a photo. They are hidden everywhere. Once you start looking for them you will be amazed that you never knew they were there. I will warn you... Geo caching is very addictive! Once you start you will be hooked.

Here are some photos of places that we have visited as a result of our caching...

Chicago Kirk at Bean 3

Chicago 2007 9

Chicago R2D2 along Michigan Ave

St Joseph Watertower

South Haven Shore North

loomis geo 1

Whenever we are going somewhere we always look and see what Geo Caches are in the area that we could visit. The kids love it and it gets us out, sometimes even in nature. I'd love to hear from others that like Geo Caching and I wouldn't mind helping anyone that is interested!

Thursday, March 27, 2008

Snaps 101

Recently I completed a couple of Baby Surprise Jackets that were designed by Elizabeth Zimmermann. It's this awesome pattern done all in garter stitch, knitted flat and then magically transformed into the most adorable sweater with minimal sewing involved. The pattern calls for buttons and in fact, instructs you to make button holes on BOTH sides of the sweater so that you can place the buttons on the correct size after you know the sex of the baby. (Can you say, Run on sentence?) Anyhoo, I was spending alot of time searching for buttons and struggled with finding ones I liked. I wanted buttons with shanks but the selection was kind of blah. Someone suggested using a small clear button sewn on under a regular button, kind of acting as a shank but still allowing the sweater to be buttoned easily. I liked the idea but I was nervous about the choking hazard that buttons posed. I opted to go with snaps.

I had never used snaps, well I've used them, but I've never "installed" them. I went to my local Joann's. Um, not so easy to pick out snaps. The issue I ran into was that there are quite a few different snaps and most require a specific tool to install. So for me, I picked out 3 different types of snaps and needed three different tools.

This is one of the sweaters that I used buttons on. I chose these particular buttons because they reminded me of the rivets on jeans. They just seems to go well with the colorway.

The pattern itself calls for button holes that are made by doing YO, K2tog. Instead of doing that I substituted 2 purl stitches. They didn't change my stitch count and left no holes but by doing them on both sides of the sweater I was able to easily place my snaps. If you need to see a close up of any of these photos you can simply click on them.

BSJ #4 2

BSJ #4 Snap View

These are the parts of the snap that will be on the public side of the sweater. This is the top of the snap, the bottom part of the snap, and two interchangeable pieces that fit into the clear plastic holder.

Snap Tools & Pieces for Top Snap

The set of tools come with instructions that not so helpfully label the snap parts a,b,c and d. It then labels the interchangeable tools A,B,C and D. The clear plastic "holder" is labeled F. It took me a few minutes to figure out what was what.

This is a picture of tool A installed into tool F. This is the piece that will hold your snap front. The smooth part that is on the public side of the sweater.

Snap Parts 1

This is a picture of tool B installed into tool F. They both fit in well, if not snug. I had to use a something to push them back out... I used a fork;-)

Snap Parts 2

Below is snap part 'a' sitting on tool A in tool F. It's somewhat comical, don't be scared! This part in simply sitting in the mold.

Snap Parts 3

Now you can see snap part 'b' attached to tool B. This is actually fitted on. It has some room to wiggle and I tried to center it as much as possible because I'm a perfectionist.

Snap Parts 4

The most important thing to keep in mind at this point is that the public side of this snap is on the bottom of tool F. You MUST place your fabric on top of the tool with the front facing downward. That means that you will be looking at the back of your work while installing your snaps. Take a minute to double and triple check at this point. Don't rush and be careful on EACH of your snaps. Remember the two purl stitches that I used instead of making a button hole? I placed the shaft of the snap in between those two stitches. If you look very closely you can see the shaft.

Snap Parts 5

Here you can see tool F closed down over my fabric. Again, take your time and make sure you are working on the correct side. There is NO GOING BACK with these snaps!

Snap Parts 6

Working on a hard and durable surface, wearing safety glasses (you only have two eyes), strike the surface of tool F a couple of times with fairly good force. When you open up tool F the front part of the snap will be free but you may need to work the back side loose.

Snap Parts 7

Now we move onto the back portion of the snap. This is the part of the snap that is the receptacle of the snap, so to speak. These are the parts and tools that I used. For this we are using tool F along with tools C & D and snap parts c & d.

Snap Tools & Pieces for Bottom Snaps

This is tool D nested into tool F. This piece has a clear rubberized ring around it that will actually hold snap part d in place.

Snap Parts 8

Here we have tool C.

Snap Parts 9

This is tool D with snap part d placed into it.

Snap Parts 10

At this point you will need to place your fabric on snap part d. Again you are using those purl stitches for guidance. In this photo you can easily see the shaft of snap part d. You will have the right side of the fabric face up for this part. If you take a minute to look at the way you want your sweater to close this should make sense.

Snap Parts 11

Snap part 'c' will be placed on top of your fabric over the shaft of snap part 'd'.

Snap Parts 12

You will then lower tool F down, nesting tool C to snap part 'c'.

Snap Parts 13

Once again you will be striking tool F... safety glasses and firm surface warnings given.

Snap Parts 14

Ta-Da! Here are the snaps as shown from the front of my Baby Surprise Jacket!

Snaps on BSJ

Now here are some things to consider...

1. I used Mini Anorak Snaps (15/32") along with the appropriate tool.
2. I believe these snaps to be permanent.
3. The snaps will be tight at first. I'm sure they will loosen up over time. Because I'm just not that patient I used a piece of wax paper. I closed my snaps with the wax paper in between a couple of times. It really helped.
4. I don't think that the snaps should be opened by simply yanking on the sweater. You will still want to ease them open. All you need to do once they are loose is to use the tip of your finger between the snaps and they should pop open fairly easy.

So there you have it. I hope that this tutorial will help someone to jump into the world of snaps. I'm here to help if you have other questions. I will be posting another tutorial on a different type of snap soon so keep checking in!

What have I been working on????

This year has been full of knitting. In fact, so much knitting that I am doing little else. I seem to knit every free second that I have. These are some of the projects that I have completed this year...

These are my Fetchings.
Quick easy knit:-)
Fetching

Another Booga Bag!
Have made several, love them all!!!
Booga Bag

Found this pattern on Ravelry!
Slouchy Hat Complete

I've made 5 of these Baby Surprise Jackets in a month, totally addictive! Pattern available in The Opinionated Knitter by Elizabeth Zimmermann.
Baby Surprise Jacket - Blue

Baby Surprise Jacket Back - Blue

Baby Surprise Jacket - Pink

Baby Surprise Jacket 3

Baby Surprise Jacket 3 Back

On the next two jackets I used snaps instead of buttons. Loved the results!
BSJ #5 View 2

BSJ #4

Tuesday, February 05, 2008

My First Real Sweater!!!!!

Ok, I've done an Einstein Coat and I've finished some of my DH's sweaters but this is MY very first sweater. I am especially happy with this one because...

#1. I knit from stash yarn:-)
#2. It was virtually seemless!
#3. I did Kitchener Stitch and didn't have a panic attack.
#4. I only had to redo my neck cast-off once.
#5. Even though my guage didn't match my swatch it still fit.

Now I could go on and on and on but I won't. I think part of the reason I've not really wanted to do sweaters was the time commitment. I tend to get sidetracked and lose interest in long projects. I made this one for my son so it was relatively small. I started it on a Wednesday night and finished in the next Tuesday evening. Less than a week and I am now my son's hero! Problem is that I'm afraid to let him wear it. He tends to unravel hats that I make for him:-( I guess I made it to be worn but it's like my baby and I'm having a hard time letting go.

This is a pattern that came out of the book The Sweater Workshop and I will knit this again. The cool thing about this pattern is the lack of actual pattern. I can do whatever I want designwise.

Here are some photos of my sweater throughout the process...

Sweater Progress

Sweater Progress 2

Sweater Detail

Finished Sweater

Let me know what you all think. I'm curious as to whether other knitters out there would block this sweater or not. Have a great night!

Google
WWW http://neverendingyarn.blogspot.com